A Frame Shed Kit: Build Your Perfect Outdoor Storage Solution
Looking to expand your outdoor storage space with a stylish and practical solution? A-frame shed kits offer the perfect combination of functionality, durability, and aesthetic appeal. Let’s explore everything you need to know about these versatile structures and how to choose the right one for your property.
Understanding A Frame Shed Kits
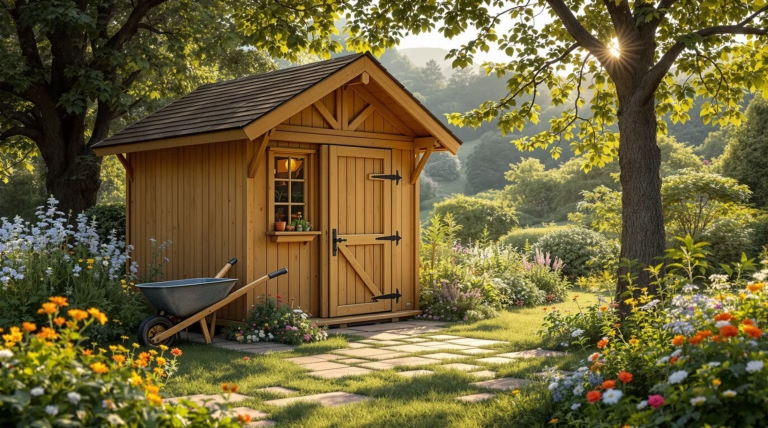
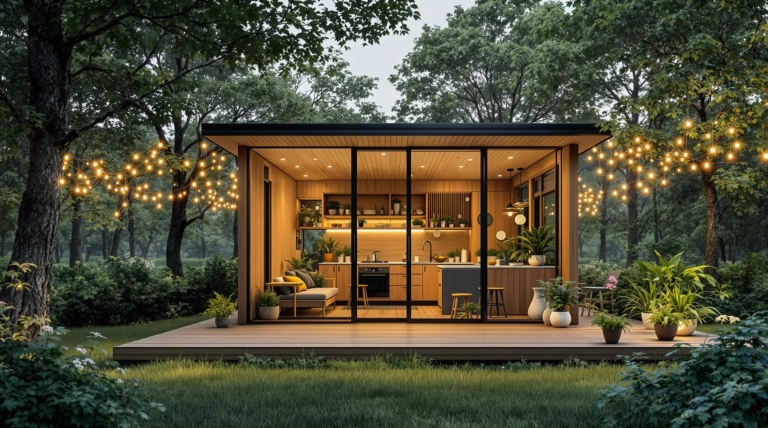
A frame shed kits have revolutionized the way homeowners approach outdoor storage solutions. These distinctive structures, characterized by their triangular profiles, deliver a perfect blend of functionality and visual appeal. Unlike conventional flat-roof storage buildings, A-frame sheds provide superior benefits that make them an excellent investment for any property.
The classic design merges timeless style with modern construction techniques, creating a storage solution that enhances your property’s appearance while ensuring reliable protection for your belongings. These kits come complete with all necessary materials and components, making them accessible even to those with basic construction experience.
What is an A Frame Shed Kit?
An A frame shed kit is a comprehensive package that includes all pre-cut materials, hardware, and detailed instructions for building a triangular-roofed storage structure. Standard features include:
- 6’6″ side walls (6’3″ interior height)
- Double German doors for convenient access
- Two windows (18″x27″ or 24″x27″) with shutters or trim
- Louvered shutters and decorative corners
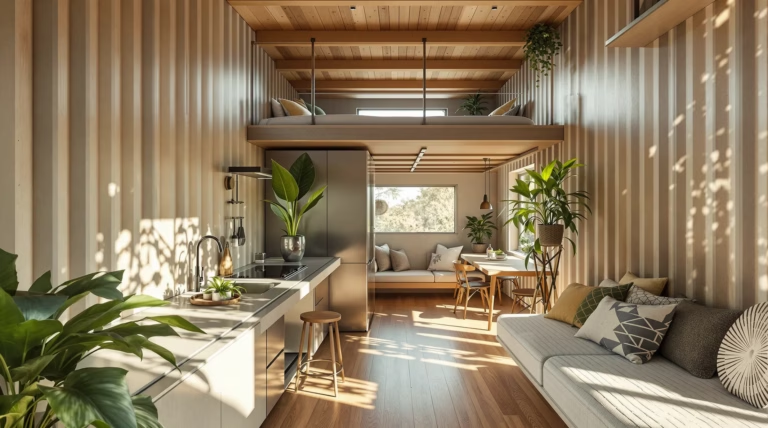
- Additional loft space for storage
- Built-in ventilation systems
- Proportionally sized access ramp
These DIY shed kits are designed for weekend assembly by one or two people, eliminating the need for professional contractors while maintaining high-quality results.
Benefits of A-Frame Design
The A-frame design offers several significant advantages:
- Superior water drainage – steep roof pitch naturally sheds rain, snow, and debris
- Enhanced structural stability through triangular configuration
- Improved weather resistance against strong winds and snow loads
- Natural energy efficiency with optimal air circulation
- Eco-friendly options using reclaimed or sustainable wood
- Generous interior height for maximum storage capacity
Choosing the Right A Frame Shed Kit for Your Needs
Selecting the ideal A frame shed kit requires careful evaluation of several key factors. The market offers various options differing in quality, materials, and features, making it essential to balance practical considerations with aesthetic preferences and budget constraints.
Factors to Consider When Selecting a Shed Kit
| Factor | Considerations |
|---|---|
| Construction Skills | Assess your DIY experience and tool availability |
| Customization Level | Determine whether you need standard or modified features |
| Timeline | Consider assembly time requirements |
| Total Cost | Include kit price, additional materials, tools, and foundation work |
Customization Options Available
Modern A frame shed kits offer extensive customization possibilities through:
- Interactive 3D builders for visual planning
- Various roof materials and siding colors
- Flexible window and door placements
- Interior features like built-in shelving and workbenches
- Architectural enhancements (decorative trim, cupolas, weather vanes)
- Practical upgrades (solar lighting, insulation, ventilation systems)
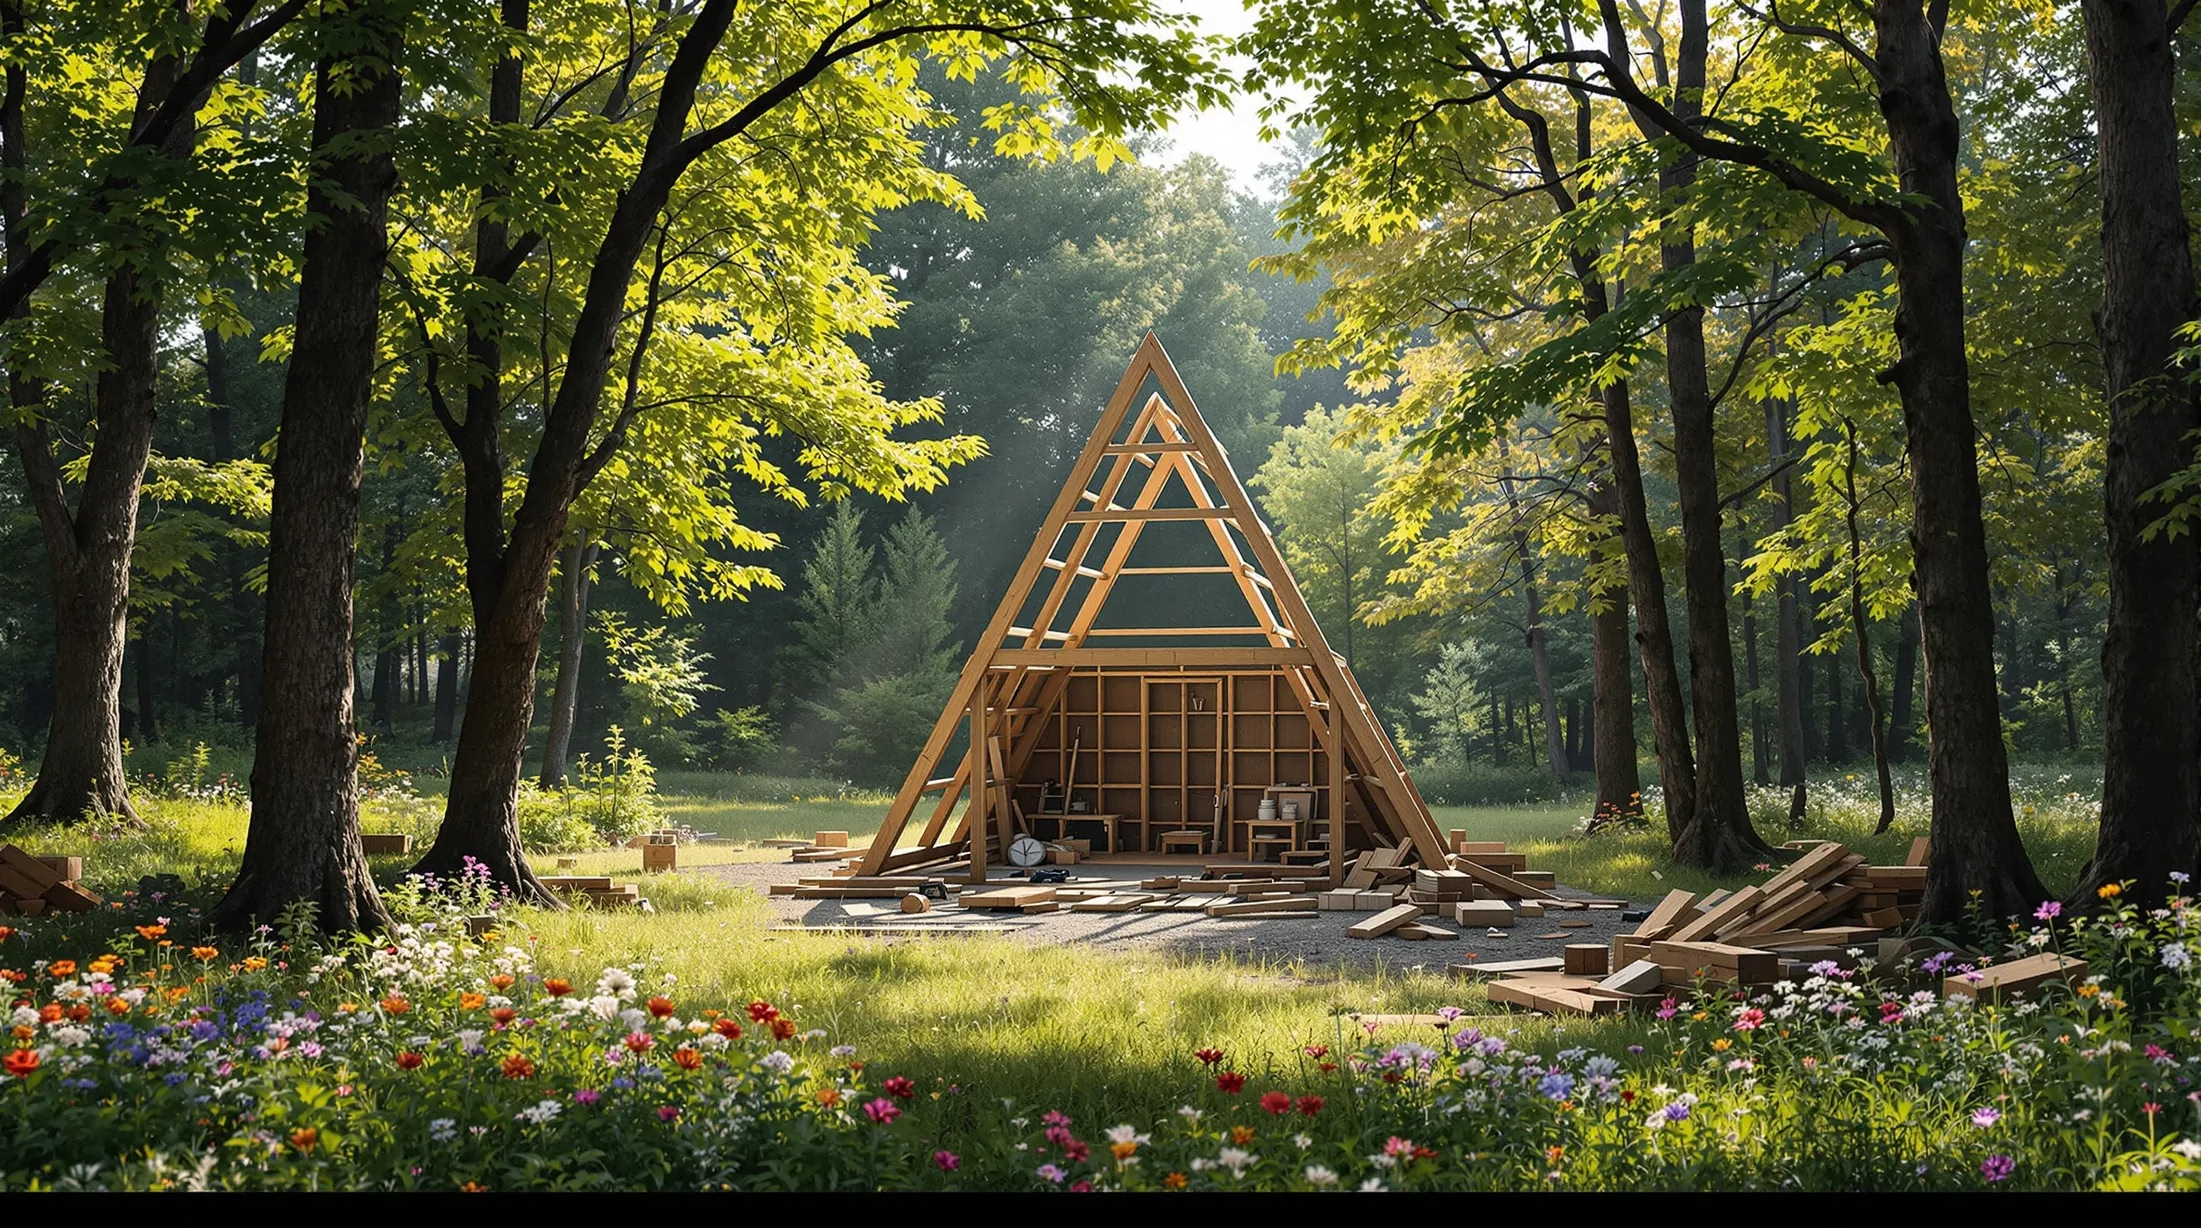
How to Assemble Your A Frame Shed Kit
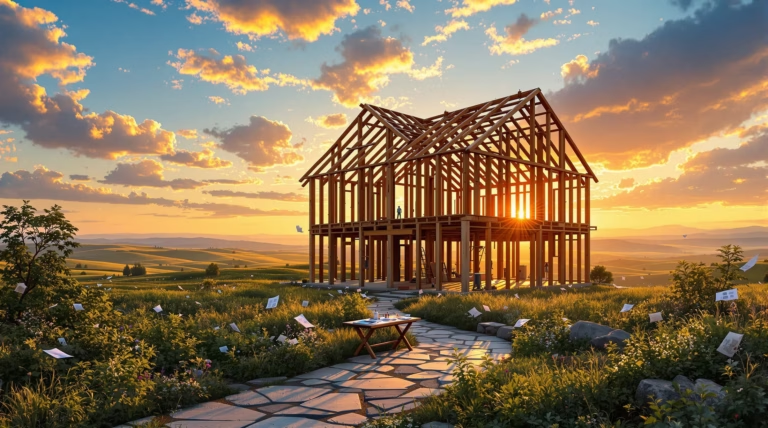
Assembling an A Frame shed kit transforms a package of components into a functional, attractive storage solution in just one weekend. Most homeowners can complete the assembly in 1-2 days with proper preparation and methodical approach. The process follows a logical sequence from foundation to finishing touches, creating a sturdy structure built to last.
These kits are engineered for DIY success, featuring pre-cut materials and detailed instructions that streamline construction. Unlike traditional building methods, kits eliminate complex measurements and cutting, allowing focus on assembly. Quality kits include comprehensive timber construction guides that walk you through each phase, making the project accessible even for those with basic building experience.
Tools and Materials Needed
- Essential tools:
- Hammer and power drill with various bits
- Measuring tape, level, and square
- Utility knife
- Safety equipment (gloves, protective eyewear)
- Circular saw for adjustments
- Sawhorses
- Ladder
Standard kit components include pre-cut lumber for 6’6″ side walls, double German doors, window materials, shingles, siding, hardware, and fasteners. Additional supplies you may need to source:
- Concrete pad or gravel base
- Weather-resistant sealant
- Paint or stain for finishing
Step-by-Step Assembly Guide
- Foundation preparation – Install concrete slab, pressure-treated skids, or gravel base ensuring level and square positioning
- Floor frame assembly – Construct according to specifications, verify square corners and proper leveling
- Wall construction – Begin with rear wall, progress forward, temporarily brace each section
- Roof installation – Mount trusses at specified intervals, apply sheathing and waterproof membrane
- Finishing touches
- Install doors and windows
- Add interior features like loft space
- Attach trim pieces and shutters
- Apply protective finish treatment
Permitting and Legal Considerations
Despite working with a pre-designed kit, most municipalities require specific permissions for outdoor structures. Understanding and following local regulations prevents costly penalties, mandatory alterations, or potential structure removal.
Permit requirements vary by region, typically based on square footage, height, intended use, and property line proximity. While some areas exempt structures under 100-120 square feet, others regulate all permanent additions. Homeowners associations may impose additional restrictions affecting aesthetics and placement.
Understanding Local Building Codes
| Code Element | Common Requirements |
|---|---|
| Foundation | Specific base requirements and anchoring methods |
| Setbacks | Minimum distance from property lines |
| Structure | Maximum height and weather resistance standards |
| Utilities | Electrical specifications if power is needed |
How to Obtain Necessary Permits
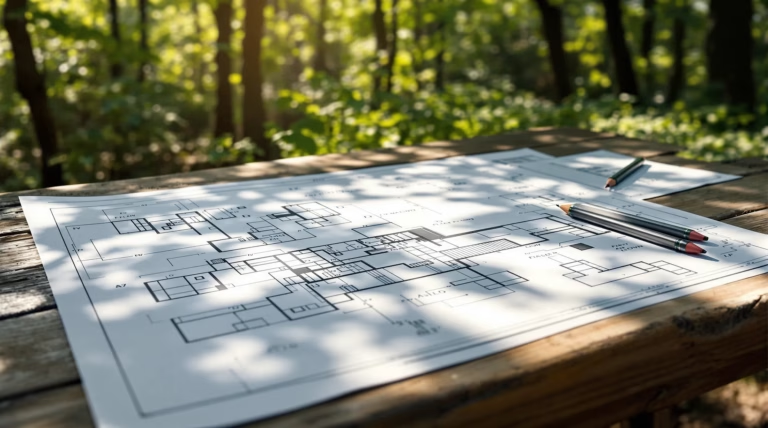
- Submit detailed application including:
- Dimensional plans
- Material specifications
- Foundation details
- Property location diagrams
- Expect review by multiple departments (zoning, building safety, environmental)
- Budget for application fees ($50-$500)
- Plan for 6-12 month permit validity
- Schedule required inspections during construction