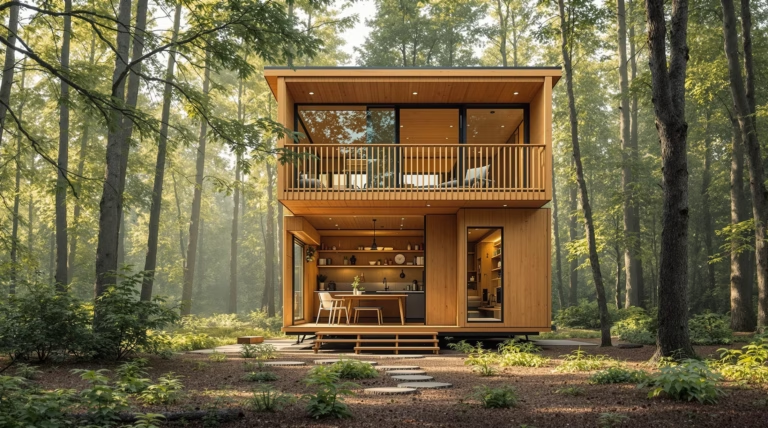
Simple House Frame: A Comprehensive Guide to Building Your Dream Home
Building a house requires a solid foundation, and the frame serves as the crucial skeleton that determines your home’s structural integrity and longevity. Whether you’re planning a new construction project or seeking to understand your existing home’s architecture, this comprehensive guide will walk you through everything you need to know about house framing.
Understanding the Basics of a Simple House Frame
A simple house frame forms the fundamental skeleton of your home, providing structural integrity and defining the overall shape of the building. This essential framework consists of vertical studs, horizontal beams, rafters, and joists that work together to create a sturdy structure capable of supporting walls, floors, and roofing materials.
Modern framing techniques prioritize efficiency, strength, and cost-effectiveness while allowing for greater architectural flexibility. The right framing system impacts everything from insulation effectiveness to the home’s ability to withstand environmental stresses.
What is a Simple House Frame?
A simple house frame is a structural system composed of lumber elements arranged in a specific pattern. The core components include:
- Foundation plates (sill plates) – base support
- Floor joists – horizontal support for floors
- Wall studs – vertical support elements
- Ceiling joists – horizontal ceiling support
- Roof rafters – roof structure formation
Platform framing, the most common style in North America, involves building each floor as a separate unit stacked upon the previous one. This method has become standard due to its simplicity, cost-effectiveness, and adaptability to various architectural designs.
Importance of Building Codes in Framing
Building codes establish minimum standards for:
- Lumber dimensions and specifications
- Spacing between framing members
- Fastener types and placement
- Load-bearing capacities
- Connection methods
- Fire safety requirements
Code-compliant framing delivers multiple benefits, including enhanced energy efficiency through proper thermal bridging reduction, higher resale values, and easier insurance qualification. For DIY enthusiasts, understanding local building codes and securing proper permits should be the first step in any framing project.
Materials Needed for a Simple House Frame
| Component | Typical Material | Common Use |
|---|---|---|
| Wall Studs | 2×4 Lumber | Vertical wall support |
| Floor/Ceiling Joists | 2×6 or 2×8 Lumber | Horizontal support |
| Roof Rafters | 2×10 or 2×12 Lumber | Roof structure |
| Sheathing | 1/2″ or 5/8″ Plywood/OSB | Wall and roof rigidity |
Choosing the Right Lumber
For wall framing, kiln-dried SPF (spruce-pine-fir) #2 grade 2x4s provide excellent strength-to-weight ratio and dimensional stability. Pressure-treated lumber is essential for:
- Sill plates in contact with foundation
- Ground-contact applications
- Areas exposed to moisture
- Outdoor framing elements
Remember that dimensional lumber sizes are nominal – a 2×4 actually measures approximately 1.5″ x 3.5″. Consider this when calculating materials and designing your frame.
Essential Tools for Framing
A pneumatic framing nail gun stands as a cornerstone tool in efficient house framing, delivering superior productivity and consistency compared to traditional hammering. These powerful tools precisely drive 3″ to 3.5″ framing nails through multiple layers of dimensional lumber with remarkable speed.
- Circular saw with framing blade
- Speed square and chalk line
- 4-foot and 6-foot levels
- Tape measure and utility knife
- Air compressor for pneumatic tools
- Reciprocating saw
- Impact driver and drill with bits
Framing nails come in various configurations, with ring-shank and spiral-shank varieties providing enhanced holding power for critical structural connections. The standard choices include:
| Nail Type | Size | Primary Use |
|---|---|---|
| Common Nails (16d) | 3.5″ | Wall assemblies |
| Common Nails (8d) | 2.5″ | Blocking and sheathing |
Modern framing techniques incorporate additional specialized connectors such as structural screws, hurricane ties, and joist hangers, each requiring specific installation tools. Investing in professional-grade tools ultimately yields significant returns through improved efficiency and precision throughout the entire framing process.
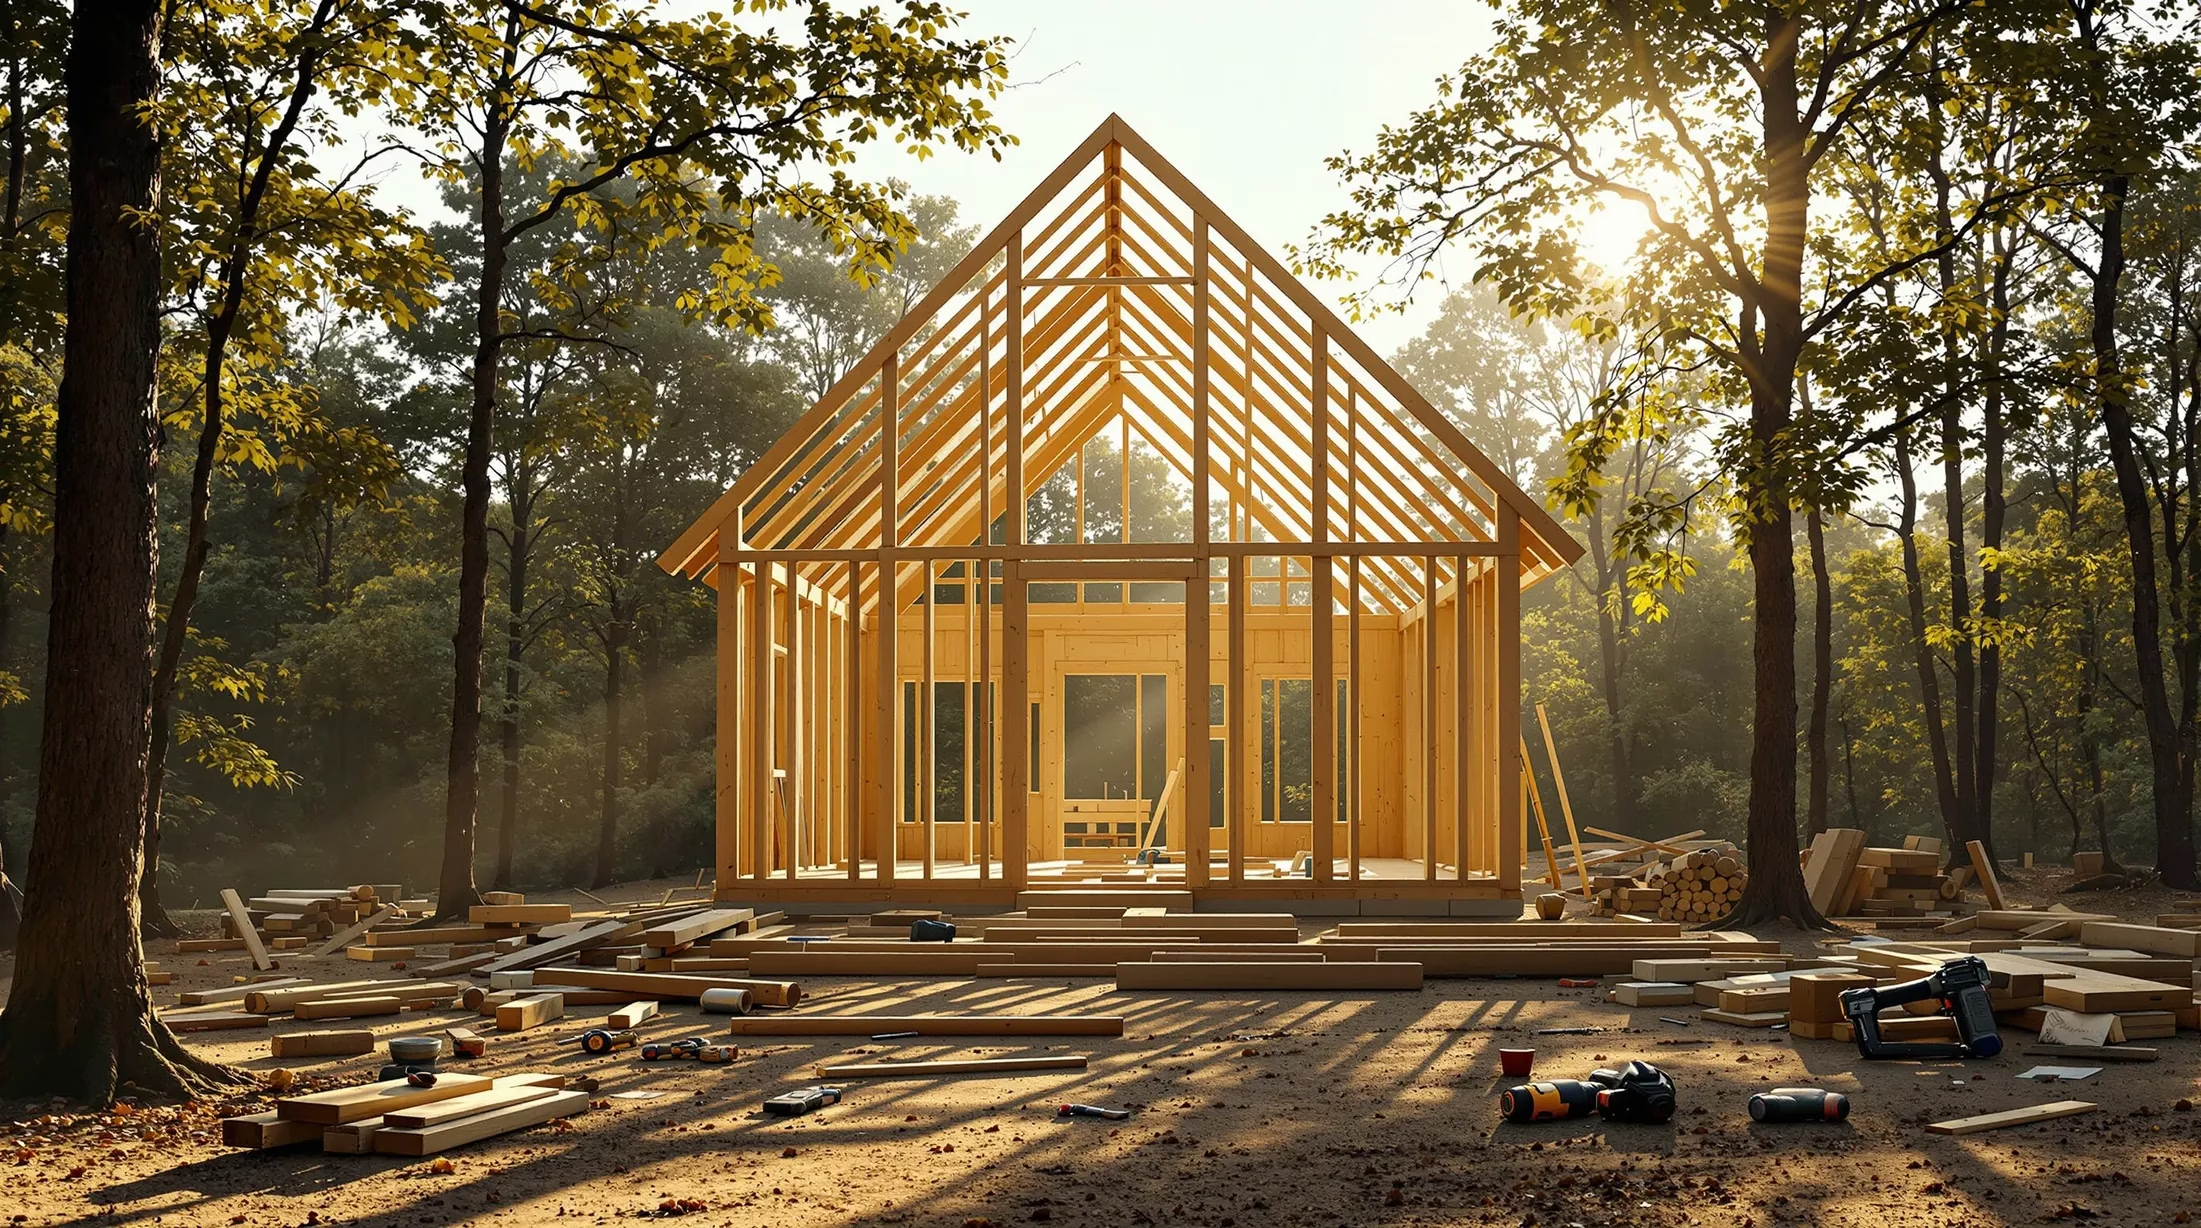
Step-by-Step Guide to Building a Simple House Frame
House framing demands methodical planning and precise execution to ensure structural integrity. The process follows a logical sequence from foundation to roof, creating an integrated system designed to distribute weight and resist environmental forces effectively.
Preparing the Site and Foundation
Site preparation begins with thorough clearing of vegetation, debris, and topsoil. Using batter boards and string lines, establish precise property lines and stake out the house footprint to guide foundation excavation. Most residential projects utilize either poured concrete walls or concrete block foundations as the structural base.
- Install pressure-treated sill plate on cured foundation
- Apply sill sealer for moisture protection
- Install floor joists 16 inches on center
- Secure joists with hangers and blocking
- Install 3/4-inch tongue-and-groove subfloor sheathing
Erecting Walls and Roof
Wall construction transforms the platform into a three-dimensional structure using the plate method. This involves laying out top and bottom plates side by side, marking stud locations at 16-inch intervals, and assembling frames with appropriate headers for openings. Exterior walls take precedence, followed by interior walls, each carefully plumbed before securing.
Roof framing completes the structural shell through the installation of ceiling joists and either pre-engineered trusses or site-built rafters. Trusses offer efficiency but require crane installation, while rafters provide greater design flexibility. The process concludes with roof sheathing installation, creating a rigid structure ready for roofing materials.
Installing Sheathing and Insulation
Exterior sheathing application requires 1/2-inch OSB or plywood installed from bottom to top, with 1/8-inch expansion gaps between panels. Proper fastening patterns typically involve nails every 6 inches along edges and 12 inches in field areas, with H-clips on roof sheathing for enhanced rigidity.
- Install housewrap over exterior sheathing
- Complete rough-in work for utilities
- Install appropriate insulation (fiberglass, mineral wool, or spray foam)
- Ensure complete cavity fill without compression
- Address thermal bridges at studs
Different Framing Methods Explained
House framing methods have evolved significantly over time, each offering distinct advantages for various building requirements. Modern construction primarily relies on four main framing systems: platform framing, balloon framing, timber framing, and lightweight steel framing. These methods significantly impact structural integrity, insulation efficiency, cost, and construction timeline.
- Regional building practices
- Budget constraints
- Design complexity
- Environmental considerations
- Local building codes
Platform Framing vs. Balloon Framing
| Feature | Platform Framing | Balloon Framing |
|---|---|---|
| Wall Studs | Single story height | Foundation to roof |
| Fire Safety | Natural fire blocking | Requires additional blocking |
| Construction | Easier, safer | More complex |
| Current Usage | Standard method | Limited applications |
Platform framing dominates modern construction, allowing builders to work from stable platforms at each level. Its modular nature enables prefabrication of wall sections on the ground before installation. Balloon framing, while creating more rigid structures, requires longer lumber pieces and presents significant fire safety challenges, limiting its use to specific applications like tall foyers or stairwells.
Exploring Timber and Steel Framing
- Timber Framing Benefits:
- Exceptional durability
- Dramatic interior spaces
- Open span capabilities
- Centuries-long lifespan potential
- Steel Framing Advantages:
- Dimensional stability
- Pest resistance
- Fire resistance
- Superior strength-to-weight ratio
- Mold and rot immunity
Timber framing, utilizing large wooden beams with intricate joinery, typically costs 15-20% more than conventional framing but offers unmatched aesthetic appeal. Steel framing provides a modern alternative, particularly suitable for regions with termite concerns or strict fire regulations, though it requires specialized tools and proper insulation systems to maximize efficiency.
Managing Material Costs
Framing materials typically account for 30-40% of total framing expenses, with lumber being the primary cost component. Market conditions significantly influence lumber prices, as evidenced during 2020-2021 when costs doubled or tripled before returning to more stable levels. For a standard 2,000-square-foot home under normal market conditions, lumber costs generally range from $15,000 to $30,000. Additional material expenses include engineered wood products like LVL beams and I-joists, sheathing, hardware, and specialty items.
- Cost-saving strategies:
- Direct wholesale purchasing – saves 15-20% compared to retail
- Winter season purchasing for better pricing
- Advanced framing techniques using 24-inch spacing
- Precise material calculations to minimize waste
- Proper material storage and weather protection
| Advanced Framing Benefits | Impact |
|---|---|
| Lumber reduction | Up to 30% less material needed |
| Energy efficiency | Increased insulation space |
| Cost savings | Reduced material and labor costs |
When conventional lumber prices spike, some builders explore alternative materials like steel or Structural Insulated Panels (SIPs). While these alternatives can offer cost advantages during lumber price surges, they require specialized installation expertise and careful consideration of long-term implications.