Tiny House Framing Plans: Essential Guide for Your Build
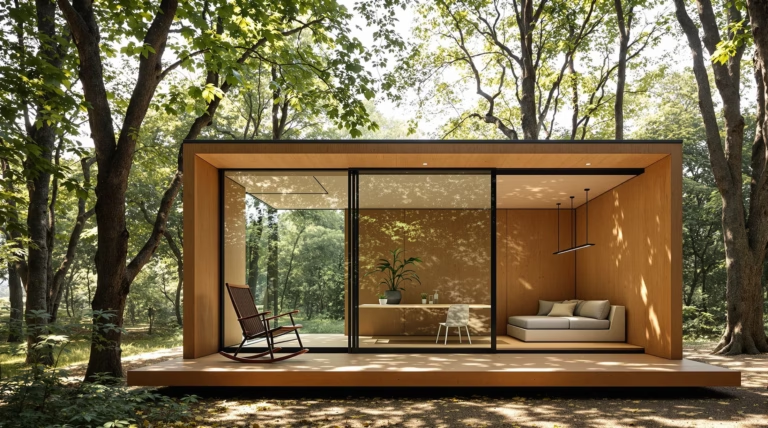
Planning to build a tiny house? A well-designed framing plan is your foundation for success. Let’s explore the essential aspects of tiny house framing to help you create a sturdy, efficient, and comfortable living space.
Understanding Tiny House Framing Plans
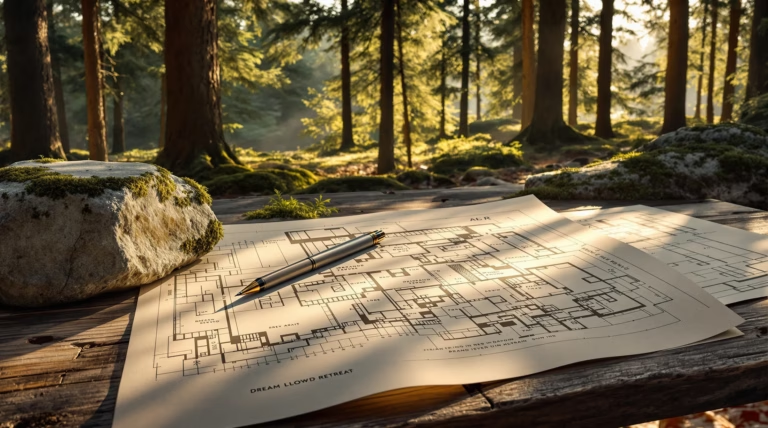
Tiny house framing plans are specialized architectural designs that serve as the blueprint for creating the structural foundation of a small living space. These plans detail the framework that will support your entire tiny house, dictating everything from wall placement to load-bearing capabilities. Unlike traditional home plans, tiny house designs emphasize space efficiency, weight considerations (especially for homes on wheels), and structural integrity in minimal square footage.
A comprehensive framing plan provides multiple views of the structure—including elevation drawings, floor plans, and cross-sections—allowing builders to visualize the entire construction process before cutting the first piece of lumber. These detailed schematics help ensure that your tiny house will be stable, durable, and built to code, while maximizing every inch of available space.
Importance of Framing in Tiny House Construction
The framing system serves as the literal backbone of your tiny house, making it arguably the most critical component of the entire construction process. Proper framing ensures walls stand straight, square, and plumb—essential factors for structural stability, especially in a home designed to potentially travel down highways at 60+ mph.
- Determines thermal efficiency through insulation cavity creation
- Affects overall weight distribution for mobile homes
- Influences interior space utilization
- Reduces lumber usage by up to 30% with advanced techniques
- Improves energy efficiency by reducing thermal bridging
Key Components of a Framing Plan
| Component | Details |
|---|---|
| Floor Framing | Foundation system, floor joists, rim joists, blocking specifications |
| Wall Framing | Stud placement, headers, plates, window/door openings |
| Roof Framing | Rafters/trusses, ridge beams, ceiling joists, pitch specifications |
| Connection Details | Hardware, fasteners, construction techniques |
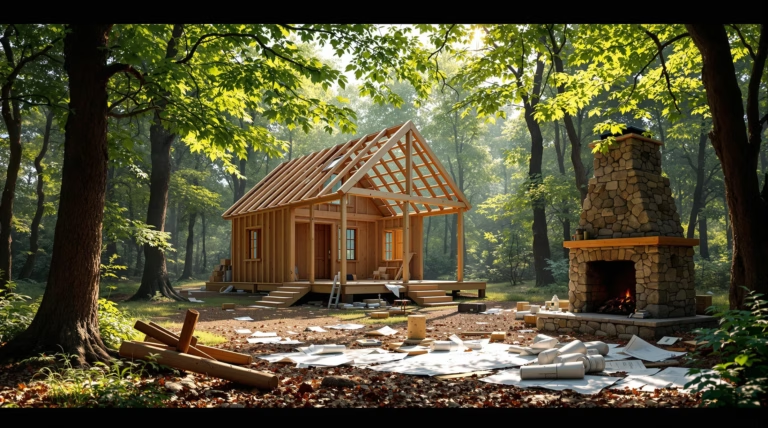
Step-by-Step Guide to Framing Your Tiny House
Framing your tiny house transforms plans into a three-dimensional reality. This critical stage requires careful attention to detail to ensure stability and durability. For DIY builders, understanding the sequential nature of framing helps prevent costly mistakes and structural issues down the line.
Preparing the Base and Marking Plates
Success begins with meticulous preparation of your base and precise marking of top and bottom plates. Ensure your trailer or foundation is completely level and square—this initial alignment affects every subsequent phase of construction.
- Cut top and bottom plates to exact wall lengths
- Use carpenter’s square for perfect 90-degree angles
- Mark stud locations at 16-inch intervals
- Label locations for regular studs, king studs, and trimmer studs
- Plan door and window rough openings
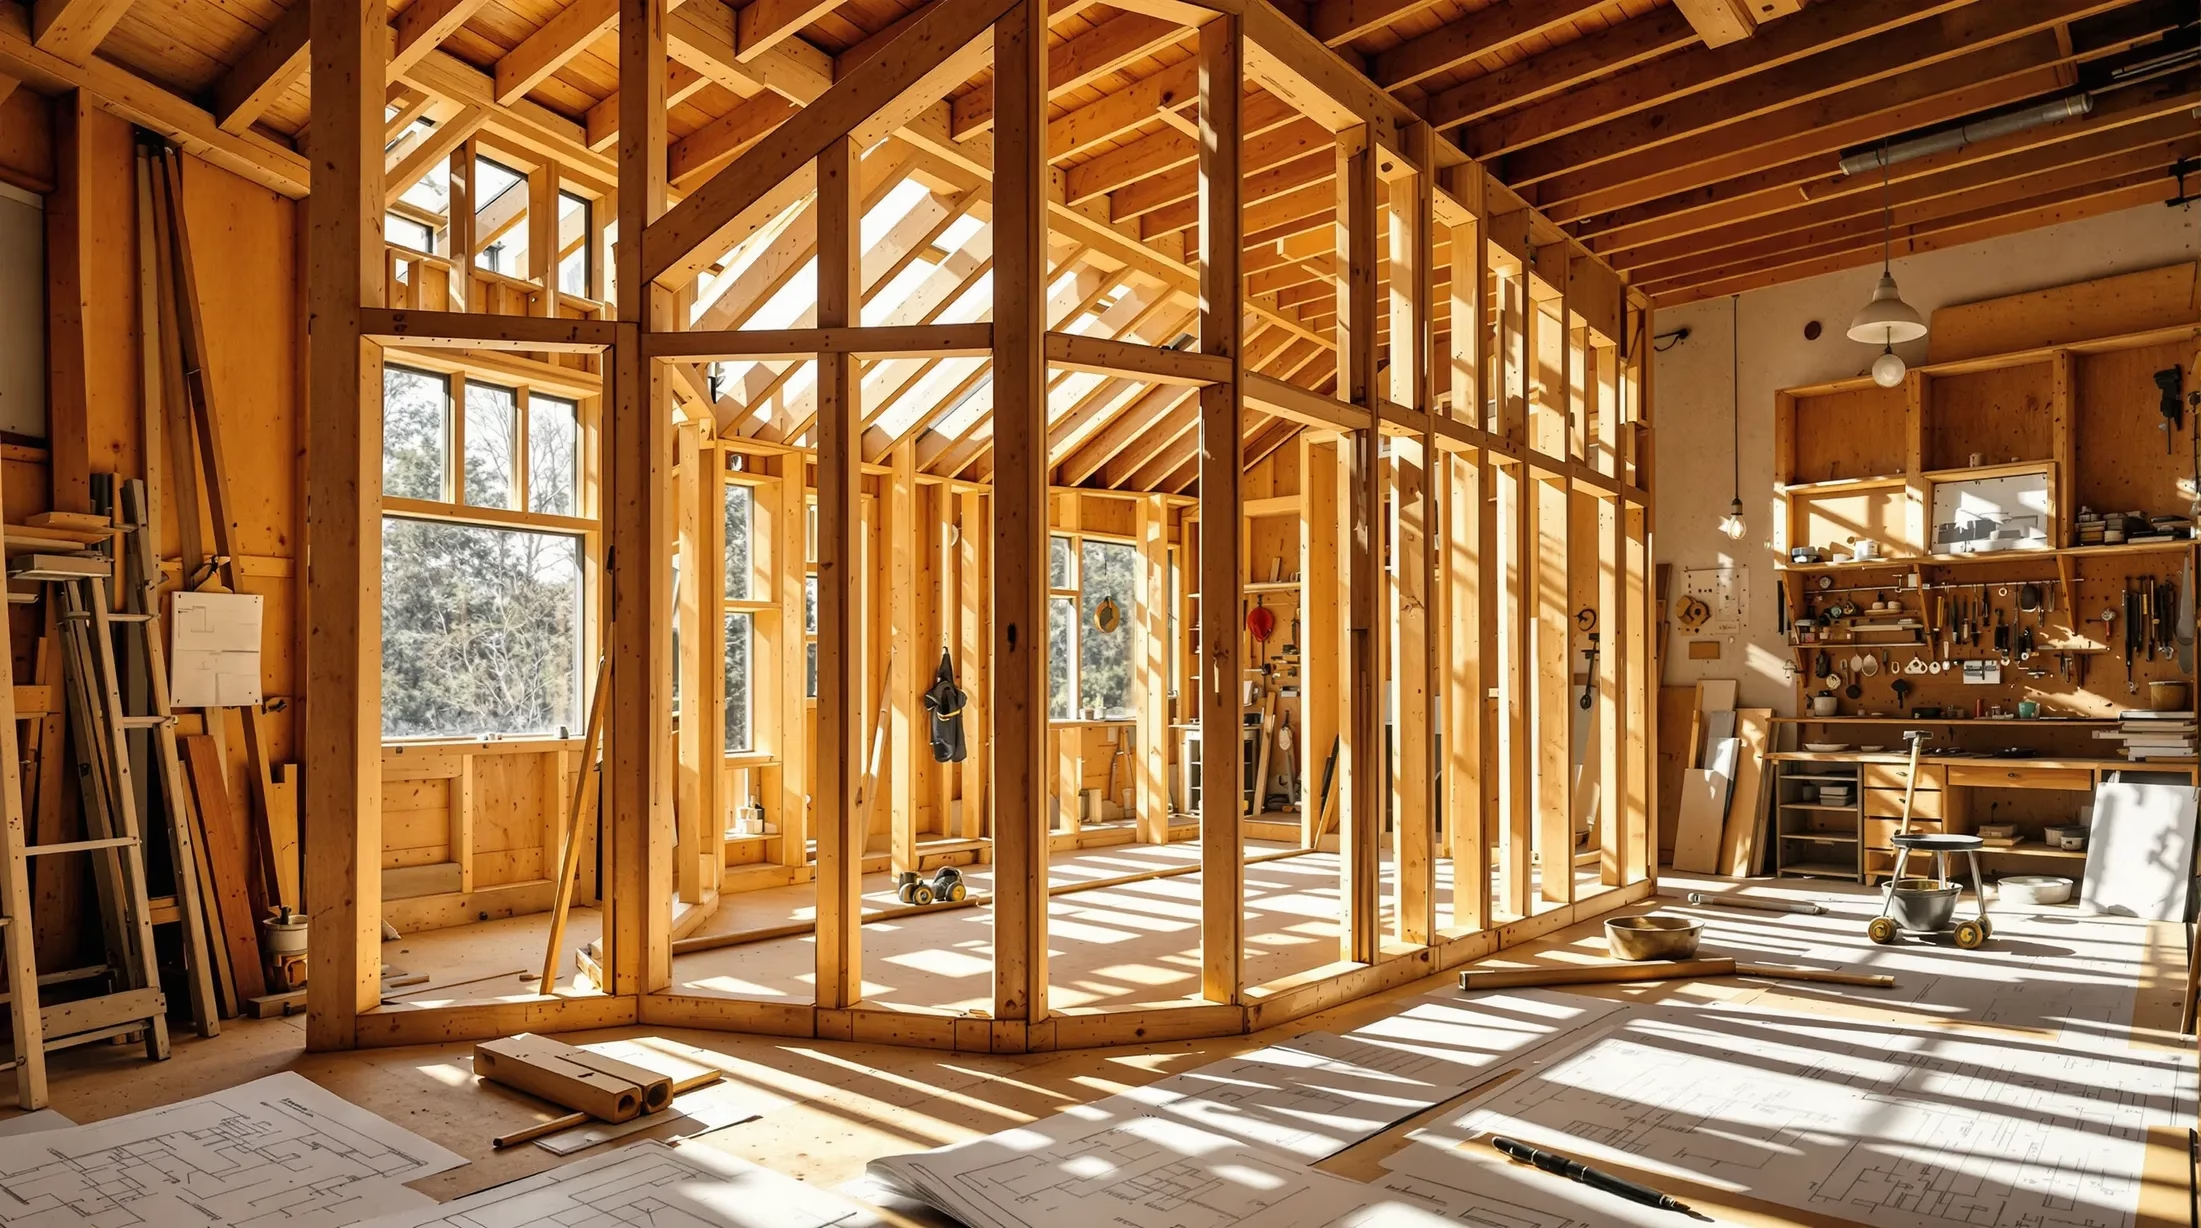
Wall Assembly and Raising
The wall assembly process begins after plate marking by cutting all studs to identical lengths—typically 8 feet for standard tiny house walls, or adjusted based on specific ceiling requirements. Pre-cut all components before assembly to create an organized workflow, including:
- Standard studs
- King studs
- Trimmers
- Headers for window and door openings
Lay the bottom plate on a flat surface with the top plate parallel to it. Position each stud according to your marks, ensuring the crowned edge faces the same direction—preferably toward the interior for straightening during drywall installation.
Secure studs using 3-inch construction screws or 16d nails through the plates into each stud end. Consider using metal hurricane ties at critical connection points for enhanced structural integrity. Before raising the completed wall section, apply construction adhesive to the base for additional stability. With a team’s help, carefully lift the wall upright, align it with floor chalk lines, and temporarily brace it with diagonal supports. Check for plumb using a 4-foot level at multiple points before securing the bottom plate. Connect corner sections using overlapping top plates to create a unified structure ready for roof support.
Framing Over Wheel Wells
Wheel well framing requires precise attention to maintain structural integrity while working within trailer constraints. Begin by measuring wheel well dimensions and locations for accurate floor system integration. The solution involves creating a reinforced box structure that connects with floor joists while maintaining wheel clearance.
| Component | Specification |
|---|---|
| Clearance Required | 1-2 inches between wheel and framing |
| Support Structure | Double framing members with metal joist hangers |
| Design Integration | Storage compartments or seating nooks |
Use metal joist hangers and doubled framing members around wheel wells to ensure proper weight distribution and prevent structural issues. Transform these necessary bump-outs into functional elements like storage spaces or seating areas, making practical use of the required modifications while maintaining structural integrity during transport.
Advanced Framing Techniques for Tiny Houses
Advanced framing techniques, or optimum value engineering (OVE), revolutionize tiny house construction by reducing lumber usage while maintaining structural integrity. This approach typically uses 24-inch on-center spacing instead of traditional 16 inches, creating wider insulation cavities and reducing material costs.
- Reduces overall weight – crucial for mobile tiny homes
- Decreases material costs significantly
- Improves thermal efficiency through larger insulation spaces
- Creates direct load paths from roof to foundation
- Allows for 2×4 lumber use in single-story structures
Roof Framing: Angles and Cuts
Roof framing demands precise technical execution to ensure weather protection and structural integrity. The system must balance slope requirements, height restrictions, load capacity, and proper overhang protection. Most tiny houses benefit from a pitch ratio between 3:12 and 6:12 for optimal headroom and weather resistance.
| Cut Type | Purpose |
|---|---|
| Plumb Cut | Connection at ridge board |
| Bird’s Mouth Cut | Wall plate connection point |
| Tail Cut | Eave termination |
Use a speed square with rafter angle guide for consistent cuts across all rafters. Consider pre-fabricated trusses for time savings or scissor trusses for vaulted ceilings. Shed roofs offer simpler framing solutions for height-restricted builds while maintaining proper drainage. Ensure precise alignment with wall framing to maintain efficient load paths throughout the structure.
Loft and Subfloor Framing Considerations
Loft framing in tiny houses demands precise engineering to balance weight with load-bearing requirements. These spaces must support sleeping areas, storage, and living spaces while maintaining a minimal structural footprint. The success of loft construction hinges on creating robust attachment points to the main wall structure using structural screws or through-bolts with joist hangers, rather than simple nail connections. For optimal support, space joists 16 inches on center.
| Framing Element | Specification |
|---|---|
| Joist Spacing | 16 inches on center |
| Connection Type | Structural screws or through-bolts |
| Support System | Joist hangers to main framing |
Subfloor framing for trailer-based tiny houses requires specific considerations:
- Install moisture barrier directly on trailer bed
- Place rigid foam insulation between floor joists
- Orient floor joists perpendicular to travel direction
- Use engineered wood products (LVL) for critical load paths
- Double or triple joists around wheel wells
Cost and Material Considerations
For an 8×20 foot tiny house, framing costs typically include:
- Basic studs and fasteners: $300-$800
- Sheathing: $800-$1,000
- Windows: $60-$300+ each
- Doors: $300-$2,000
- Advanced framing techniques can reduce lumber usage by 30%
Budgeting for Framing Materials
A comprehensive framing budget must account for all components:
| Component | Cost Range |
|---|---|
| Trailer Foundation | Starting at $3,000 |
| Windows (per unit) | $100-$300 |
| Exterior Doors | $300-$2,000 |
| Total DIY Framing | $5,000-$7,000 |
Choosing the Right Materials
Material selection requires careful consideration of structural integrity, weight, and cost factors. Key options include:
- Dimensional lumber (2x4s or 2x6s) for traditional stick framing
- Kiln-dried lumber for dimensional stability
- Engineered I-joists for floor systems
- Pressure-treated lumber for moisture-prone areas
- Metal connectors and hurricane ties for enhanced stability
Climate Considerations: House Wraps and Vapor Barriers
Climate-specific protection systems are essential for structural longevity. Advanced solutions like ZIP System panels offer integrated moisture protection, though they may add $200-$400 to material costs. These systems provide superior protection against environmental elements while improving energy efficiency and reducing installation time.
Importance of Climate-Specific Solutions
Climate-specific moisture management is crucial for tiny houses, where limited space amplifies moisture-related issues. In cold climates, strategic vapor barrier placement prevents wall cavity condensation that could lead to mold and structural deterioration. For hot, humid regions, proper barrier installation is essential to prevent moisture entrapment within walls.
- Cold climate requirements – R-20 to R-30 wall insulation with vapor barriers on warm side
- Humid climate needs – breathable exterior wraps for outward drying
- Mobile considerations – design for most challenging climate conditions
- Regional adaptations – consult local builders for climate-specific best practices
- Long-term protection – ensures structural integrity and investment value
Installation Tips for House Wraps and Vapor Barriers
| Installation Element | Specification |
|---|---|
| Course Overlap | Minimum 6 inches |
| Fastener Type | Cap nails (not staples) |
| Critical Areas | Windows and doors (80% of moisture issues) |
| Flashing Requirements | Sill pans and step flashing at intersections |
For integrated systems like ZIP panels, precise manufacturer specifications must be followed for seam sealing. These panels create an airtight envelope when properly installed, significantly improving energy efficiency. Critical attention must be paid to:
- Specialized tape application at all seams and corners
- Flexible flashing installation around openings
- Positive drainage path creation
- Complete sealing of all penetrations
- Integration with overall framing system