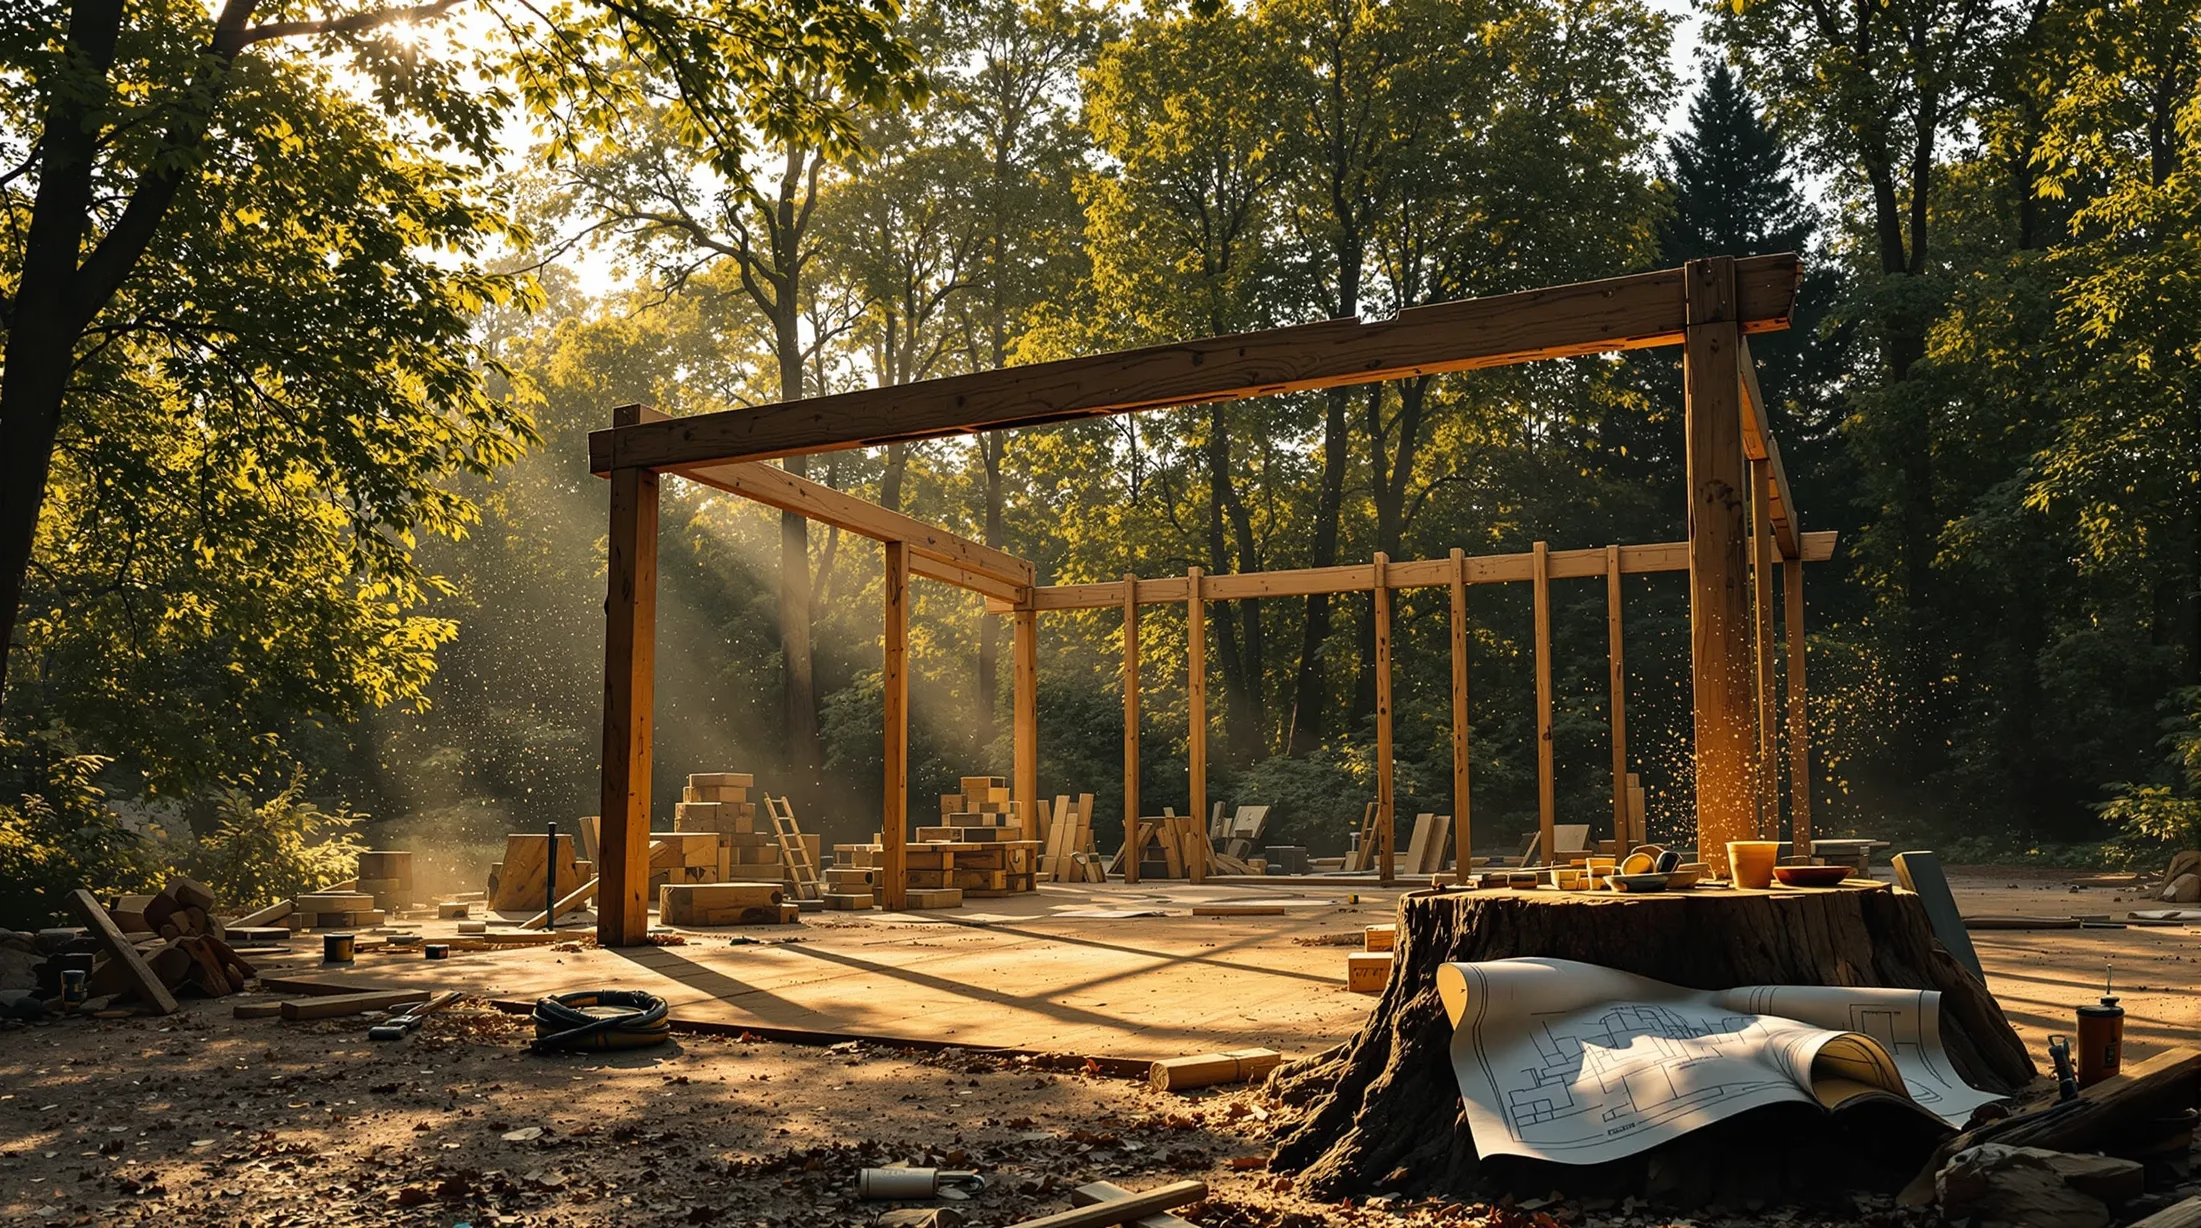
How to Build a Workshop: A Step-by-Step Guide
Creating your own workshop is an exciting journey that can transform your DIY dreams into reality. Before you begin this rewarding project, let’s explore the essential planning steps and considerations that will help you build a functional and enjoyable workspace that meets your specific needs.
Planning Your Workshop: Key Considerations
Building your own workshop requires careful planning before the first tool is picked up. Whether you’re passionate about woodworking, automotive repairs, or general DIY projects, creating a dedicated space for your craft involves several critical decisions that will impact your workshop’s functionality for years to come.
A well-designed workshop becomes more than storage space—it transforms into your creative sanctuary where ideas come to life. Taking time to evaluate your specific needs, available resources, and long-term goals will help prevent costly mistakes and future redesigns.
Determining the Purpose and Size of Your Workshop
Different workshop purposes require specific space considerations:
- Woodworking – space for large equipment like table saws and lumber storage
- Metalworking – sturdy workbenches and specialized ventilation
- Automotive repair – sufficient space for vehicle maneuvering
- General crafting – flexible workspace with varied storage solutions
For size considerations, follow these guidelines:
- Add 25-30% more space to your initial calculations
- Standard workshop sizes: 12’x16′ (basic) to 24’x32′ (advanced)
- Workbench depth: 24-36 inches
- Equipment clearance: 3-4 feet
- Ceiling height: minimum 8 feet, ideal 10-12 feet
Choosing the Right Location for Your Workshop
Location factors to consider include:
- Accessibility for materials and finished projects
- Ground-level access for heavy items
- Distance from home for noise management
- Proper drainage and sun exposure
- Proximity to utilities (water, electrical, gas)
- Local zoning regulations and building codes
- Distance from property lines for neighbor consideration
Laying the Foundation: Building a Strong Base
A proper foundation ensures your workshop’s longevity, providing stability against weather elements, ground movement, and equipment weight. This crucial phase creates a level surface, prevents moisture infiltration, distributes weight evenly, and anchors the structure against environmental forces.
Selecting the Best Foundation Type for Your Workshop
| Foundation Type | Best For | Advantages |
|---|---|---|
| Concrete Slab | Areas with minimal freezing | Excellent stability, seamless floor, supports heavy equipment |
| Pier Foundation | Sloped terrain | Good ventilation, adaptable to uneven ground |
| Skid Foundation | Temporary structures | Economical, less permanent, easier installation |
Step-by-Step Guide to Laying a Workshop Foundation
- Clear vegetation and debris from the site
- Mark foundation dimensions with stakes and string
- Excavate to appropriate depth (6-8 inches below grade)
- Add 4-6 inches of compacted gravel
- Install vapor barrier (for concrete slabs)
- Place reinforcing wire mesh or rebar grid
- Construct formwork with 2x4s
- Pour concrete to minimum 4-inch thickness
- Allow 48 hours for initial curing
- Maintain moisture levels during curing process
Constructing the Workshop Structure
Once your foundation is set and cured, it’s time to transform your project into a three-dimensional workspace. The construction phase requires meticulous attention to detail to ensure your workshop remains sturdy and weatherproof for years to come.
The walls and roof form the core components of your workshop structure. Proper construction techniques at this stage are crucial, as any structural errors can lead to issues with door and window fitting, roof leaks, or long-term stability problems.
Building the Walls: Materials and Techniques
Wall construction begins with framing—creating your workshop’s skeleton using dimensional lumber. The standard approach includes:
- Base plate (sole plate) – horizontal board on foundation
- Vertical studs – 2″x4″ lumber (or 2″x6″ for better insulation)
- Top plate – double horizontal boards for extra strength
- Spacing – 16 inches on center between studs
- Treated lumber for bottom plates to prevent moisture damage
For efficient wall construction, assemble each wall on the ground before raising it into position. Use temporary bracing to hold walls upright and verify all corners are square before permanent securing. Include proper headers above door and window openings, then sheath the exterior with plywood or oriented strand board (OSB) for structural rigidity.
Installing the Roof: Options and Installation Tips
The roof is your workshop’s primary defense against the elements. Common roofing styles include:
| Roof Style | Characteristics | Best For |
|---|---|---|
| Gable | Simple design, excellent water shedding | Most workshop applications |
| Shed | Single slope, straightforward construction | Smaller workshops |
| Gambrel | Maximum headroom, storage space | Large workshops needing storage |
| Hip | Superior wind resistance | High-wind areas |
For installation, follow these essential steps:
- Install ridge beam at the highest point
- Place rafters 16-24 inches apart (based on local snow load requirements)
- Install roof sheathing (1/2″ or 5/8″ plywood/OSB)
- Apply underlayment and proper flashing
- Install chosen roofing material (asphalt shingles or metal roofing)
- Ensure proper ventilation with soffit and ridge vents
Organizing Your Workshop for Efficiency
A well-organized workshop dramatically improves your productivity, safety, and enjoyment of the craft. Even the most well-built workshop with top-quality tools will feel frustrating to use if poorly organized. Thoughtful organization transforms your space from a mere collection of tools into a streamlined environment where creativity can flourish without constant interruption.
Effective workshop organization follows a simple principle: frequently used items should be most accessible, while occasional-use tools can occupy less convenient locations. This approach minimizes wasted movement and maximizes productive time. By implementing smart organizational systems early, you’ll establish efficient work habits that save countless hours over your workshop’s lifetime.
Creating an Efficient Layout for Your Workshop
The layout of your workshop directly impacts productivity and safety. Primary work zones should include:
- Machine area for power tools
- Assembly area with sturdy workbench
- Finishing zone away from dust-generating equipment
- Design/planning space
- Material storage area
Position frequently used machines centrally with adequate clearance for material handling. Consider the natural flow of wood through your shop—from storage to cutting, joinery, assembly, and finishing. Keep complementary tools near each other, such as positioning the miter saw near lumber storage. Maintain clear, marked walkways around dangerous machinery to prevent accidents.
Storage Solutions for Tools and Materials
| Storage Type | Best For | Benefits |
|---|---|---|
| Wall-mounted systems | Hand tools, frequently used items | Saves floor space, easy access |
| Mobile storage | Power tools, project materials | Flexibility, multi-purpose use |
| Vertical racks | Dimensional lumber | Space efficiency, easy sorting |
| Horizontal shelving | Sheet goods, plywood | Prevents warping, easy access |
For small hardware organization, use clear bins or jars with labels. Consider implementing French cleats, pegboards, or slat wall systems for customizable tool storage. Mobile solutions like tool carts and rolling cabinets prove invaluable in smaller workshops. The key to maintaining organization is consistency—always return tools to their designated locations after use.
Ensuring Proper Lighting and Electrical Setup
Planning the Electrical Needs of Your Workshop
An effective workshop electrical system requires strategic planning to support both immediate and future power demands. The comprehensive electrical setup should include multiple dedicated circuits:
- 110V circuit for lighting systems
- 110V 20-amp circuit for smaller power tools
- Two 220V 20-amp circuits for larger machinery
- Dedicated 220V circuit for dust collection system
- GFCI-protected 20-amp circuits for moisture-prone areas
For optimal functionality, install outlets every 4-6 feet along walls at workbench height, plus ceiling outlets for overhead equipment. Installing a workshop subpanel, rather than running individual circuits from the main house panel, offers greater flexibility and centralized power control. Consider adding overhead retractable extension cords for the shop floor’s center to eliminate tripping hazards while maintaining accessibility.
Insulating and Ventilating Your Workshop
Quality insulation and ventilation systems significantly impact workshop comfort and functionality. Well-implemented systems extend working seasons through temperature extremes, reduce energy costs, and protect health by managing airborne particles, fumes, and moisture. While many focus primarily on tools and structure, these elements prove crucial for long-term productivity and health.
Insulation Options for a Comfortable Workshop
| Insulation Type | Benefits | Best Application |
|---|---|---|
| Spray Foam | Superior thermal efficiency, excellent vapor barrier | Complex framing, irregular spaces |
| Fiberglass Batts | Cost-effective, widely available | Standard wall cavities |
| Rigid Foam Boards | High R-value per inch | Concrete walls, continuous insulation |
| Blown-in Cellulose | Excellent for retrofitting | Existing structures, attic spaces |
Ventilation Solutions for a Healthy Workspace
A comprehensive ventilation system addresses three critical aspects:
- Dust collection system connected directly to power tools
- Ceiling-mounted ambient air filtration for fine particles
- Strategic exhaust fans for cross-ventilation (6-8 air exchanges per hour)
- Dedicated exhaust hoods over finishing areas
- Dehumidifier for moisture control in humid climates
For optimal climate control, consider installing ceiling fans and a mini-split heat pump in well-insulated spaces. Ensure your electrical system includes dedicated circuits for ventilation equipment, particularly the dust collection system, which should operate simultaneously with other tools.


